High CRI · Dim to warm · Made with care
A little bit more
elegant in light
Elegant lighting, high color accuracy, and dependable manufacturing for considered interiors.
Explore LightingLight, material, proportion
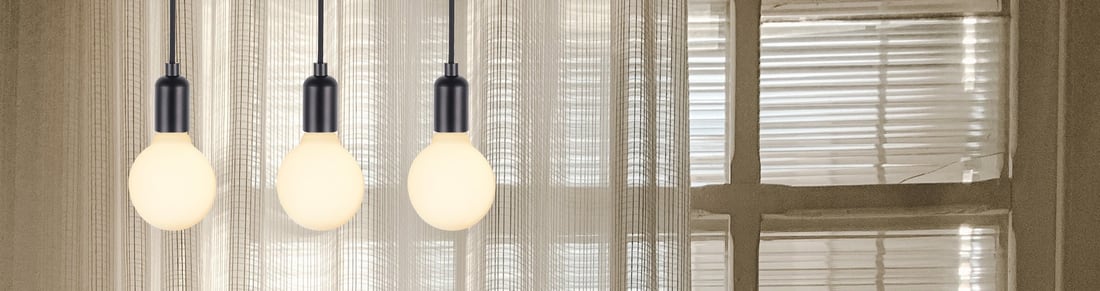
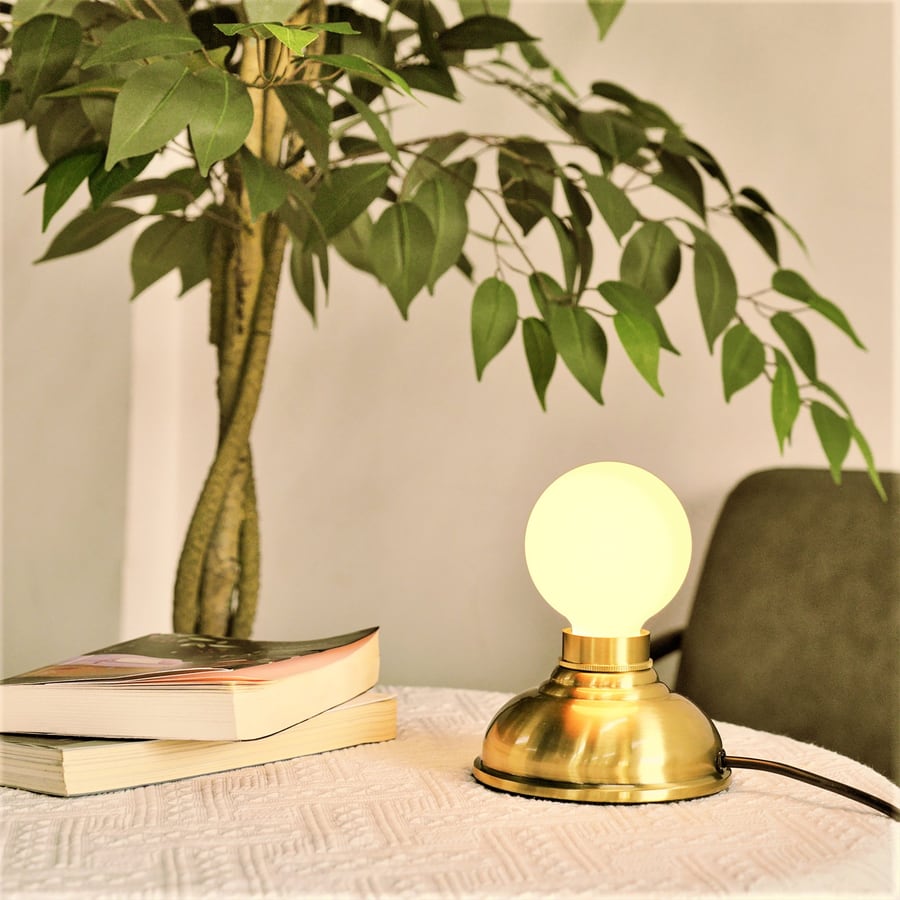
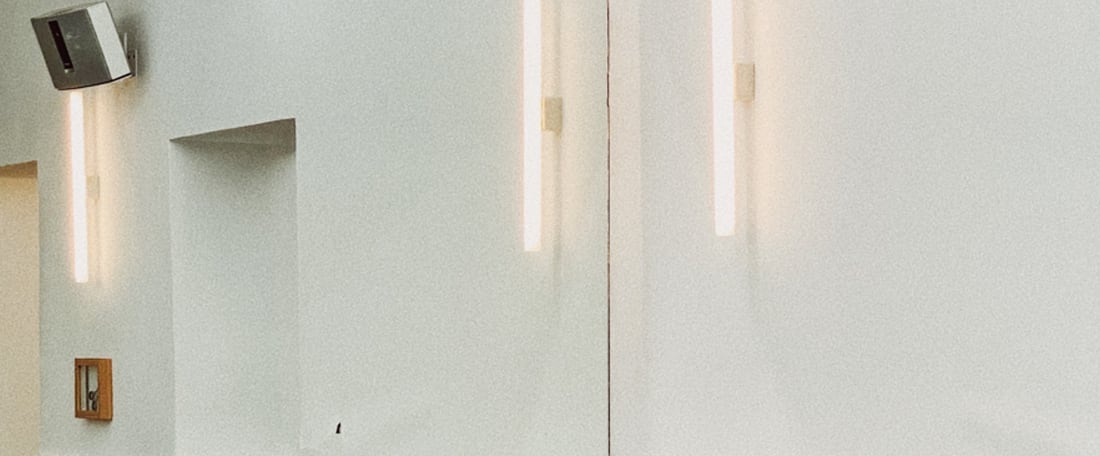
Comfortable illumination, shaped with restraint
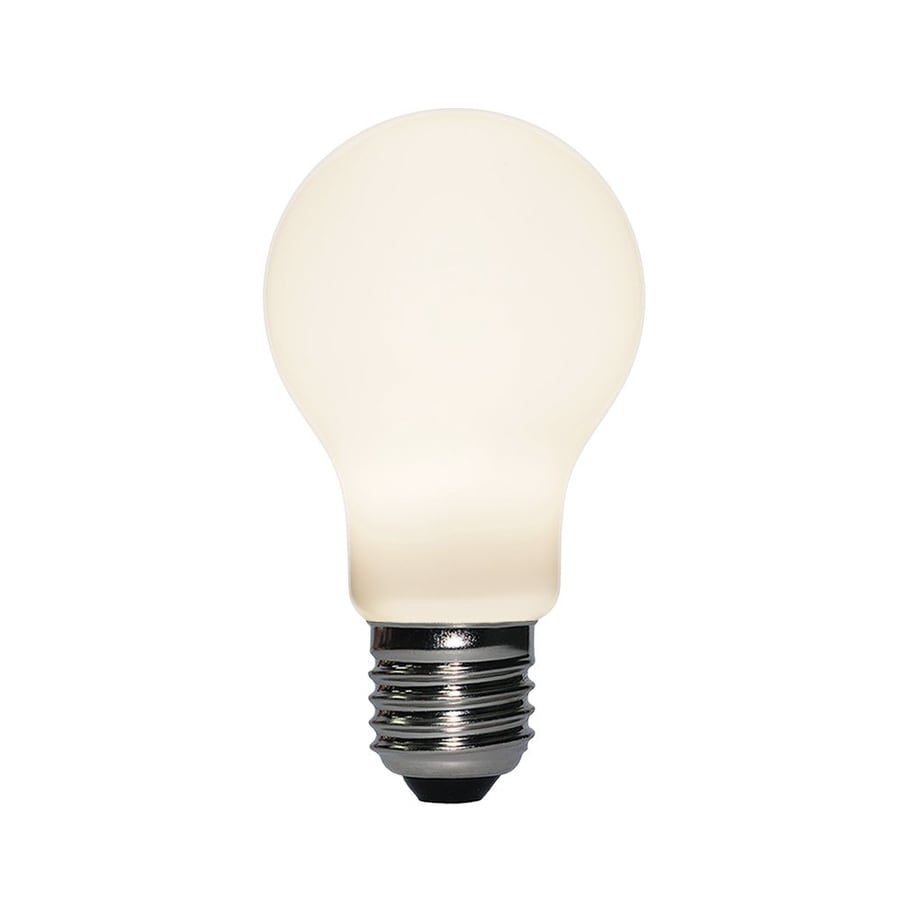
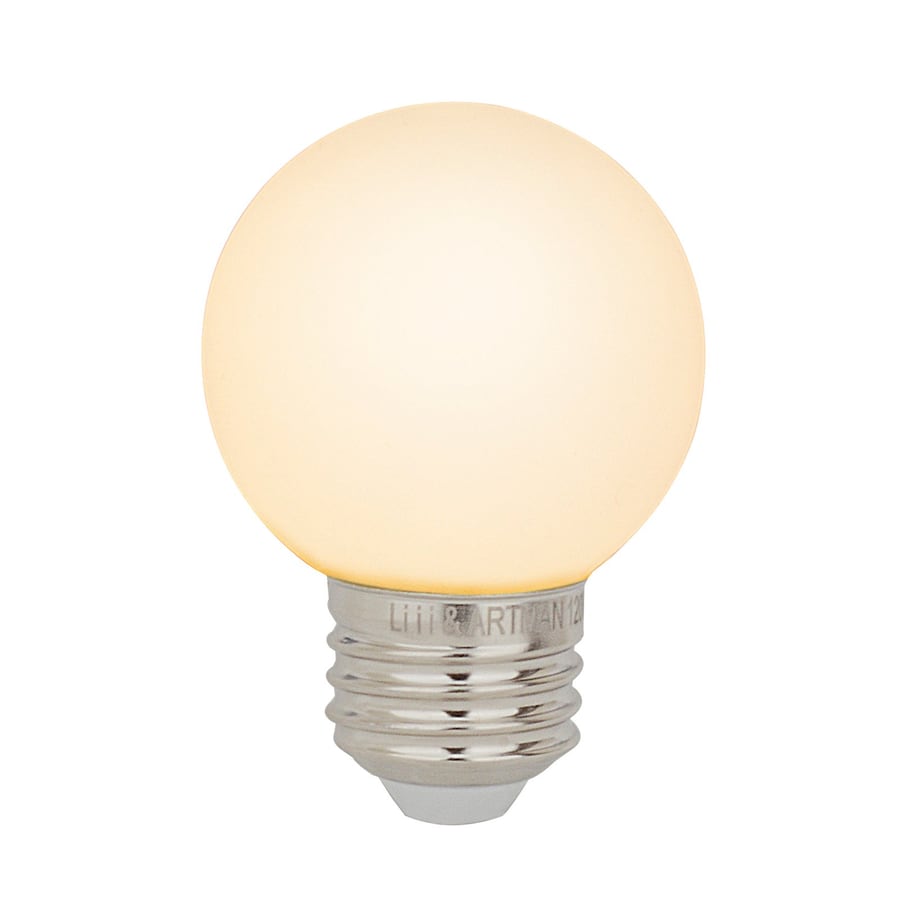
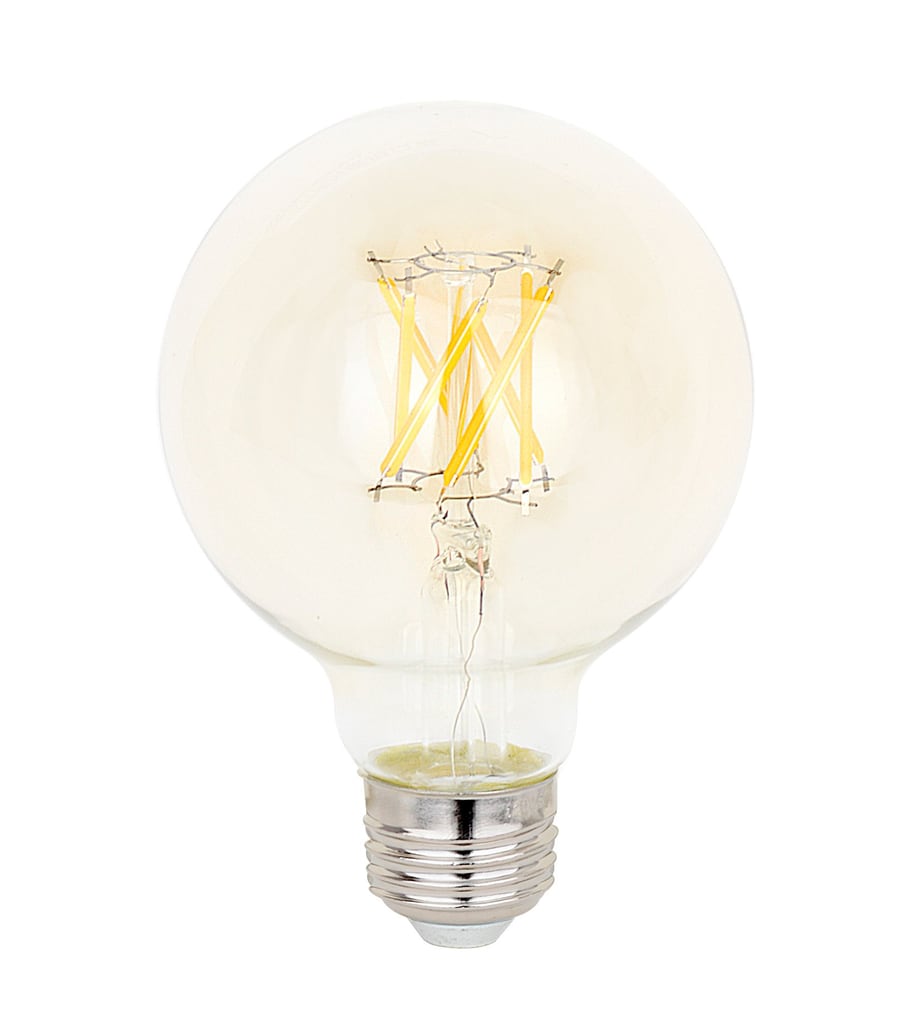
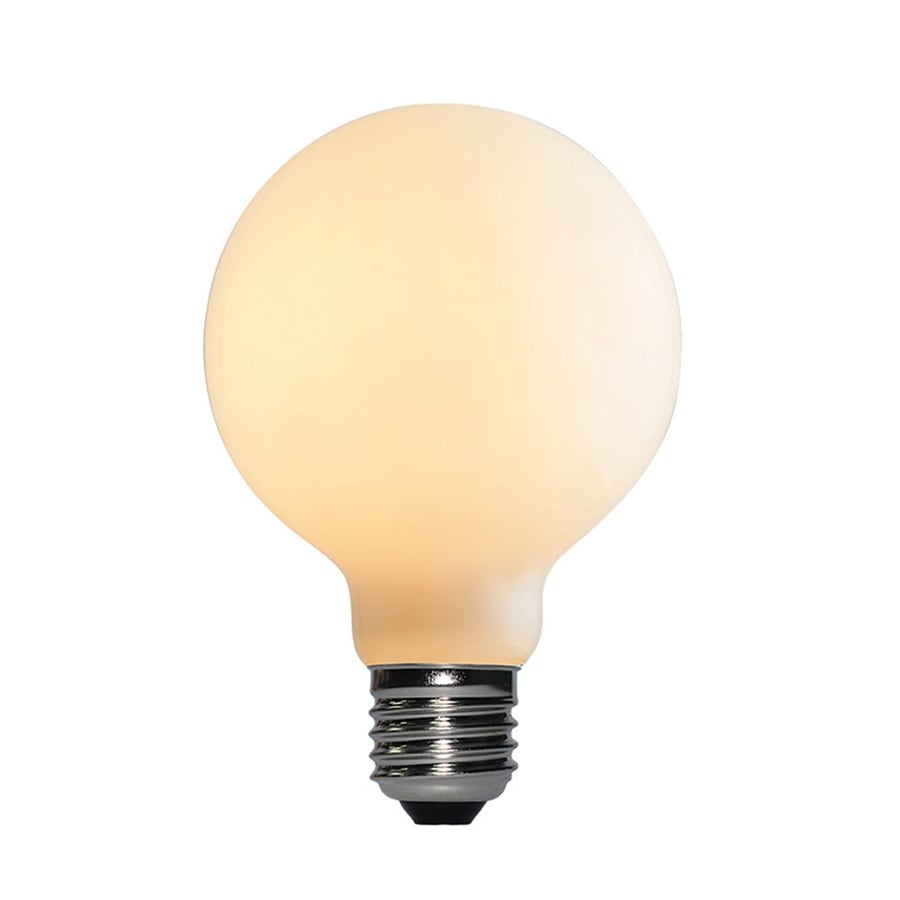
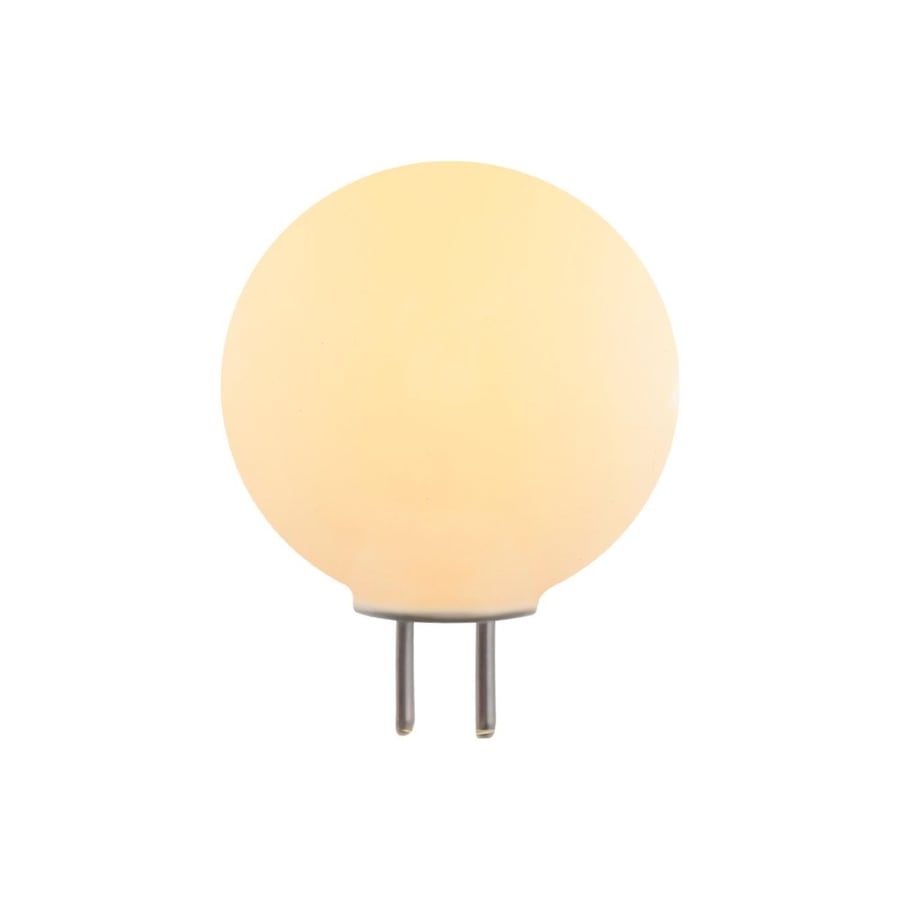
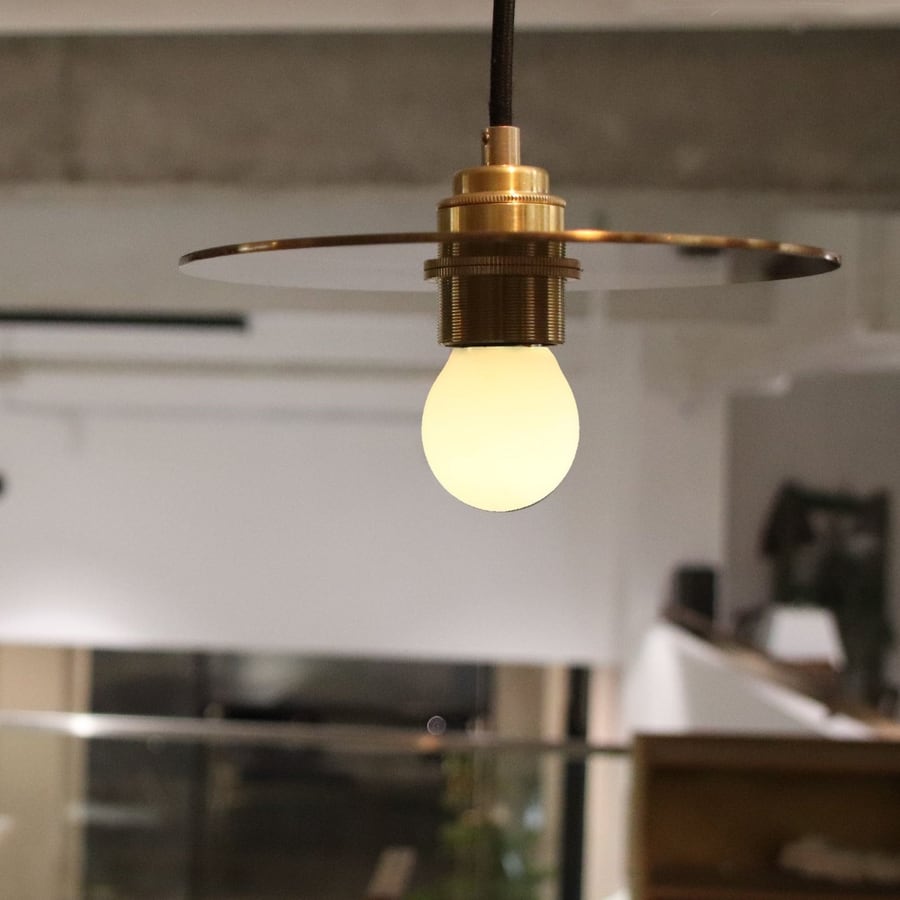
Matte white LED globes soften the visible source, while high color accuracy keeps materials, food, artwork, and skin tones lifelike. Dim-to-warm options let the same room move naturally from clarity to calm.
CRI95 optionsDim to warmConsidered finishesManufacturing quality
Explore light bulbs 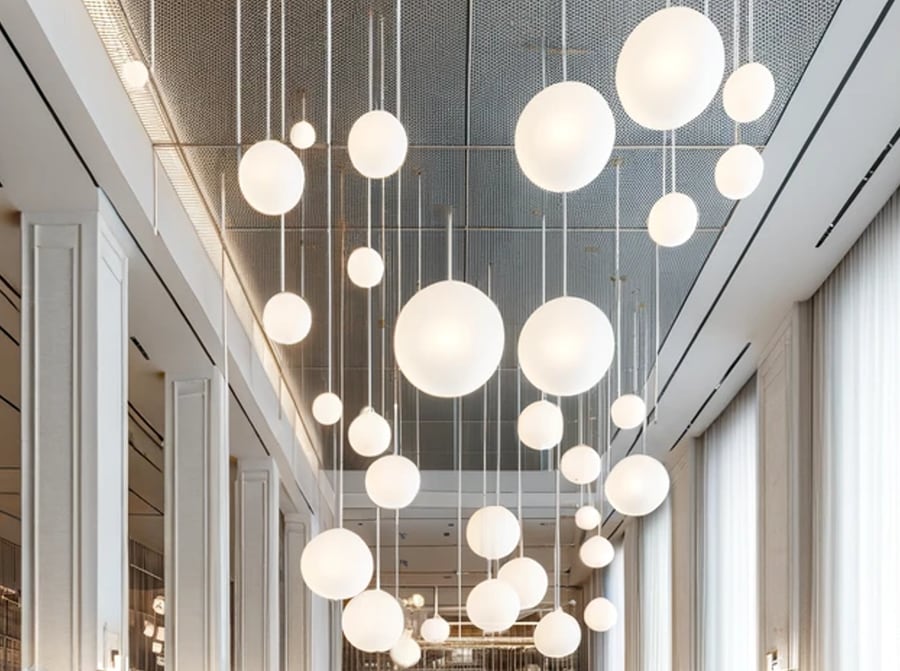
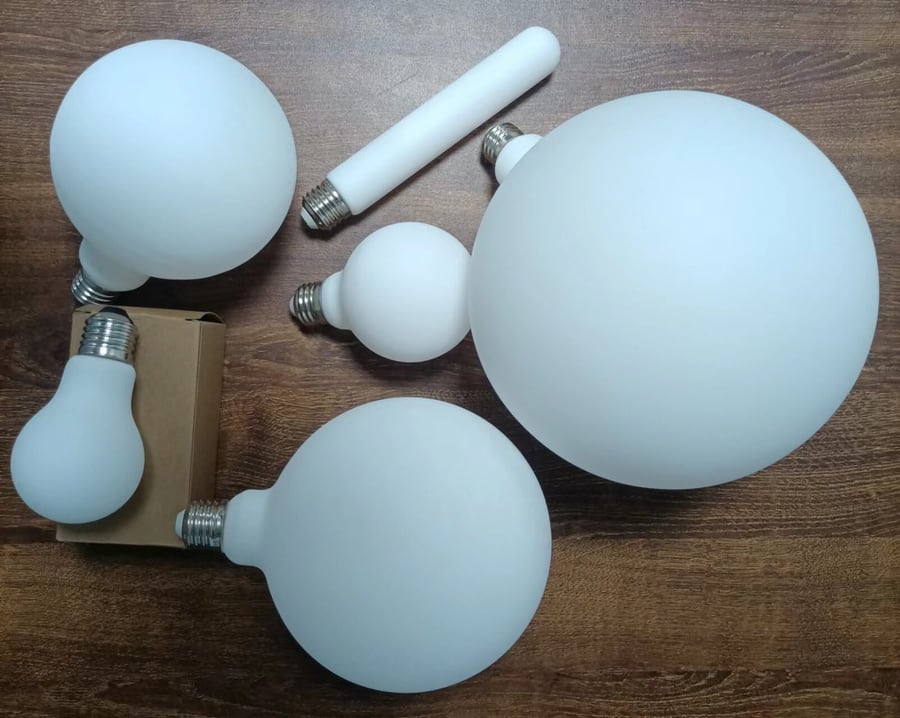
The source matters
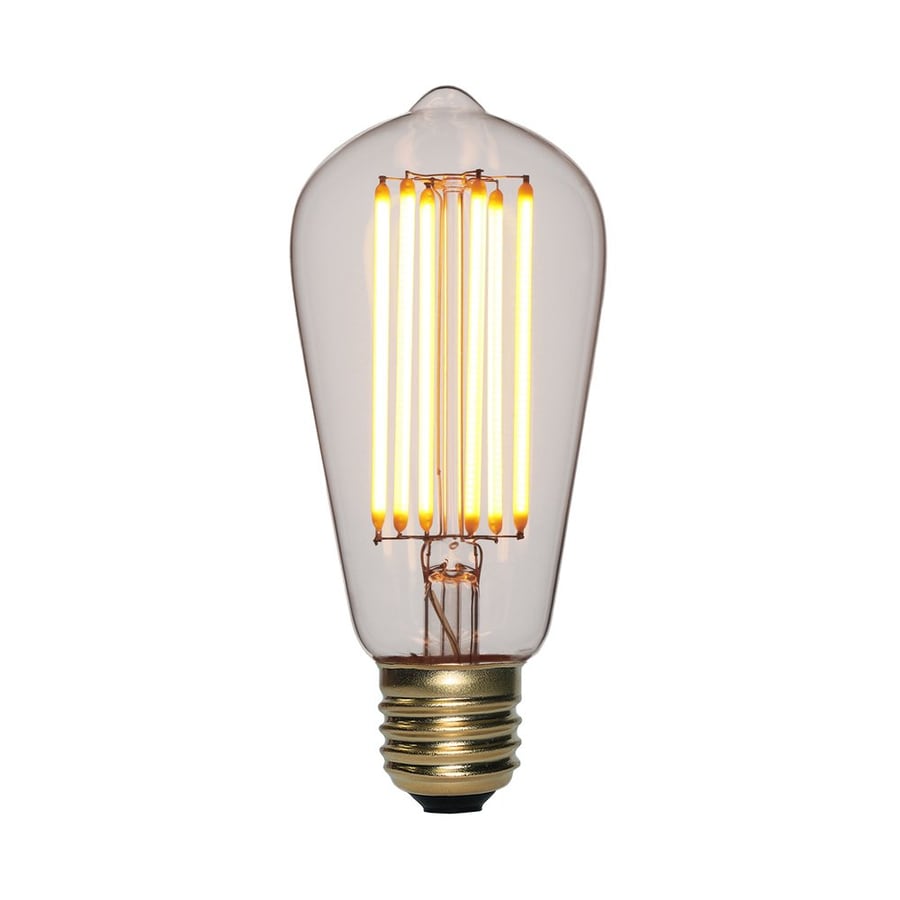
Light Bulbs
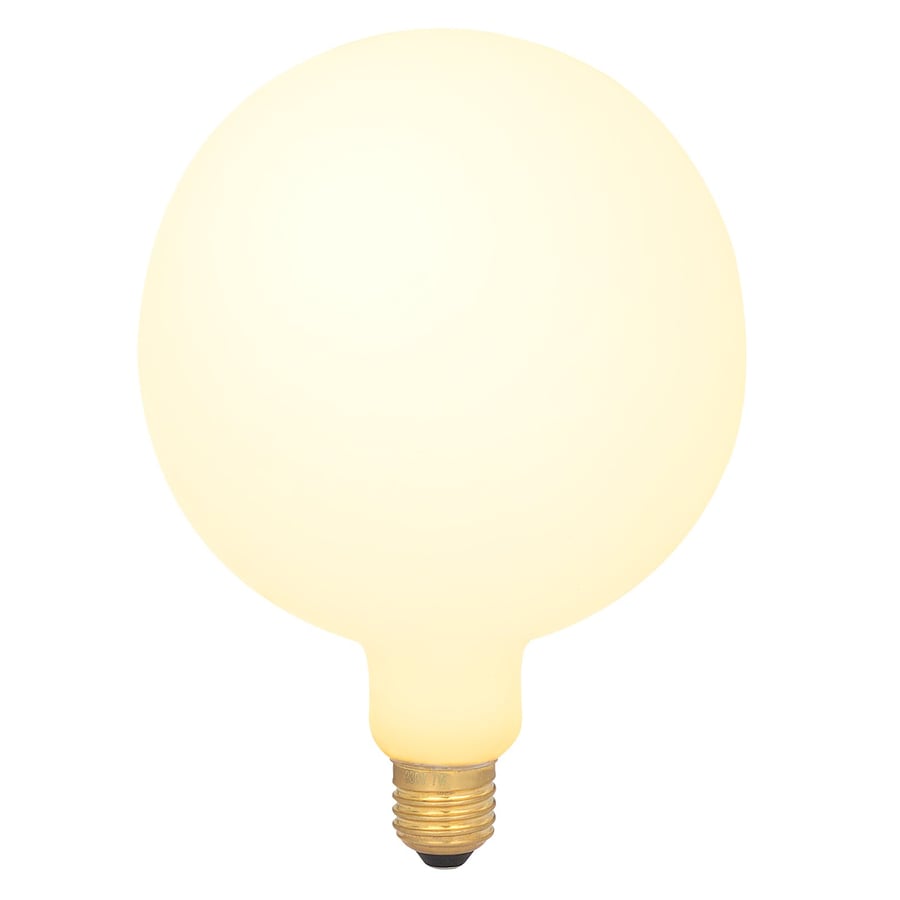
CRI95 · Dim to warm · Matte porcelain finish · Flicker-conscious light

Browse by type
Lighting Categories

From material to light
Craft, tested at every stage
We approach manufacturing as a sequence of design decisions. Material, tolerance, finish, assembly, and testing each influence how a lamp feels long before it is switched on.
01
Material selection
02
CNC machining
03
Stamping
04
Surface finishing
05
Assembly
06
Testing
07
Aging test
08
Quality inspection
Recent focus
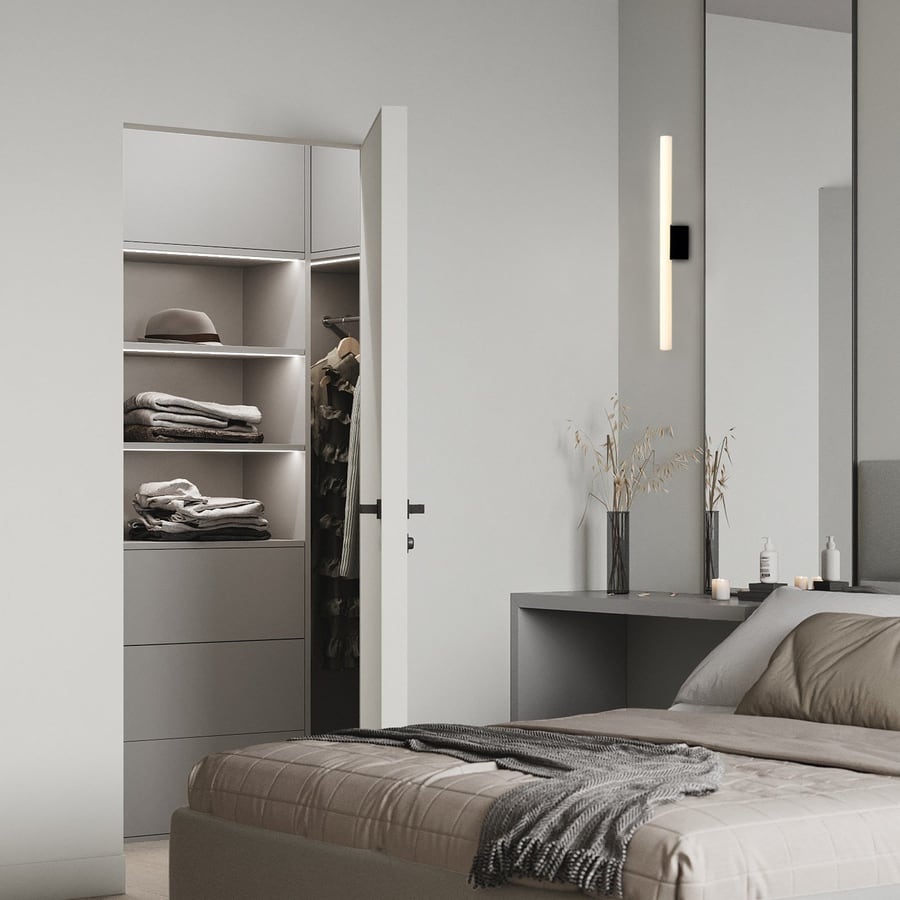
New Lighting
Table, floor, wall, and ceiling pieces with a clear material identity.
Liii&ARTMAN · Since 2018
A little bit more elegant in light
Founded in September 2018, Liii&ARTMAN is built on a simple belief: lighting should be more than functional. Our work brings together high color accuracy LED bulbs, decorative luminaires, careful finishes, and practical manufacturing experience.
From our factory in DongGuan, we support lighting brands, distributors, designers, and project clients with wholesale supply and OEM collaboration.
Ideas in use
Inspiration
The Quiet Character of Matte Porcelain Light
Why a soft, opaque globe changes both the appearance of a bulb and the way light settles into a room.
Read ArticleDim-to-Warm Lighting: From Focus to Rest
A practical look at how one light source can move from clearer task light to a lower, warmer evening atmosphere.
Read Article